Ole Ola fave soccer team with NCLA fashion nail wraps
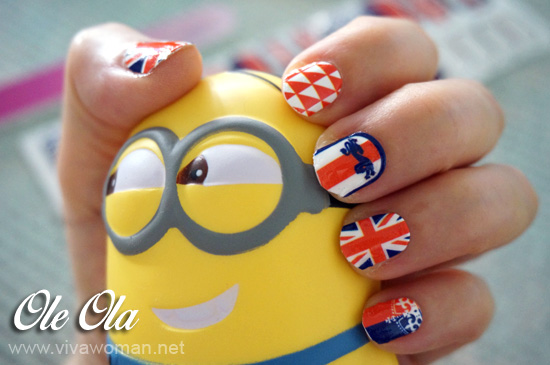
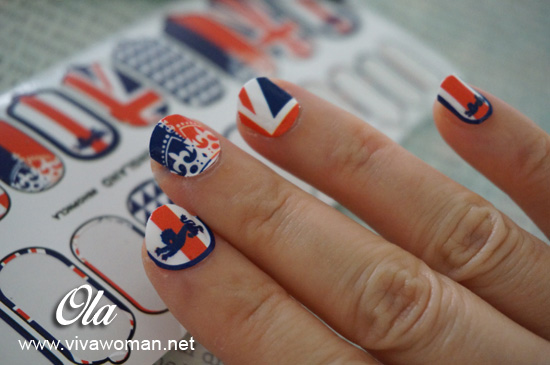
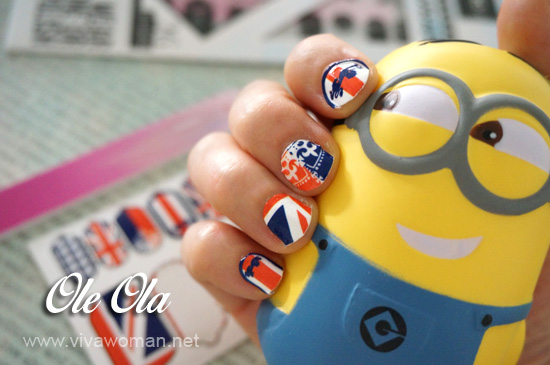
Minion Dave may be little but he is certainly opinionated. And his latest stance? To support England in the 2014 World Cup! Well, I told him I’m still quite undecided. While England may have some of the world’s best players in terms of skill, tenacity and football intelligence, the trophy has always eluded them for one reason or another. Plus, I wouldn’t consider them the underdog that I prefer to direct my cheers to. But Dave managed to convince my brainless nails otherwise and they’re now happily decked out in full support gear for the England team with the NCLA nail wraps! Brainless as they are, I think they look quite chic. HA.
But those of you with sharp eagle eyes would notice that their gear isn’t looking exactly 100% polish. 80%? Ok, make that 85%! Well, I told my nails not to expect too much because this was the first time I’ve wrapped them up in these. So no way can they can’t expect precise professional standard like with the Minx nail stickers. In fact, I thought I would probably fail the first time but surprisingly, my nails turned out looking quite decent.
Easy to use
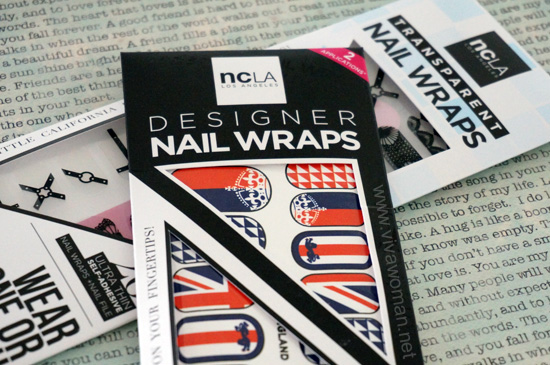
NCLA is all about nail fashion. Besides their 5 Free (free of DBP, toulene, and formaldehyde, but also of camphor and animal testing), they are known for these adhesive-backed, sticker-type appliques that resemble your band-aids, except that they’re thinner.
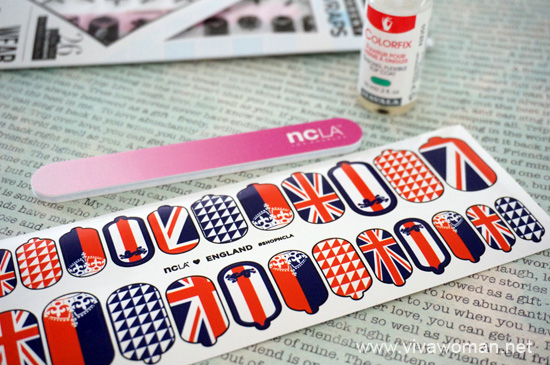
Each nail wrap set comes with 26 ultra-thin self-adhesive nail wraps, a NCLA nail file and very clear and easy-to-follow directions. Unlike the Minx nail stickers which I’ve mentioned, these NCLA nail wraps require no heat lamp, no drying time and no waiting time. All you need is to use a clear polish to double as a base coat on your nails and as a top coat over the stickers.
How to prep your nails for the nail wraps
These appliques can either look very easy or very daunting depending on your disposition about nail art. Initially, I thought they would be impossible for me but upon application, I would actually say they’re a no-brainer to use but to get them to look polish would require some practice and patience. All in, I completed all nails on both hands in about 20 minutes. Not bad considering it was my first time.
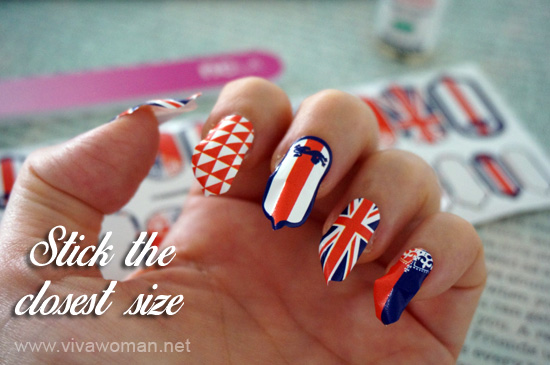
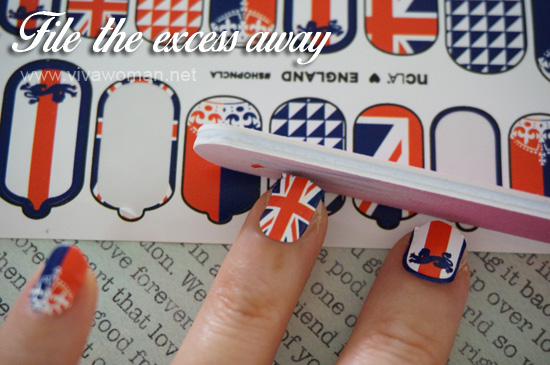
It’s very important to follow the instructions strictly. Start prepping your nails by giving them a once over with polish remover. This helps to ensure that the wraps will stick well to your nails. Next, apply a base coat to your nails. Once the nails are dry, select the correct size nail wrap for each nail and apply the round side against your cuticle. Once the nail wrap is in position, firmly flatten the wrap starting from the cuticle, repeating to remove all air bubbles. Use the nail file to remove any excess and then apply another coat of clear polish for seal and shine.
How to make the nail wraps last longer
If you take a bit of trouble to re-apply the top coat every other day, these nail wraps can probably last you longer. For me, I have them on for three days now and they’re looking like they may be able to last another two days or so. But I have to say I didn’t really prep my nails too well. In fact, there were a few stickers I actually had to remove and reapply because I didn’t position them properly the first time. I thought they might lose their adhesiveness but surprisingly, they’re holding up well on my nails without signs of peeling off.
And a tip I picked up is that if the edge of the wrap starts to pull it up, you can apply a drop of clear polish under the nail wrap and press the wrap in place until the polish dries up.
Pros and cons
I think these NCLA nail wraps are fun and fashionable especially because they come in so many designs. It helps that they’re easy to use. Definitely great for people who don’t want to spend too much time doing up their nails. And for someone like me who is completely bad at painting my own nails (except with water-based nail polishes), they’re a godsend.
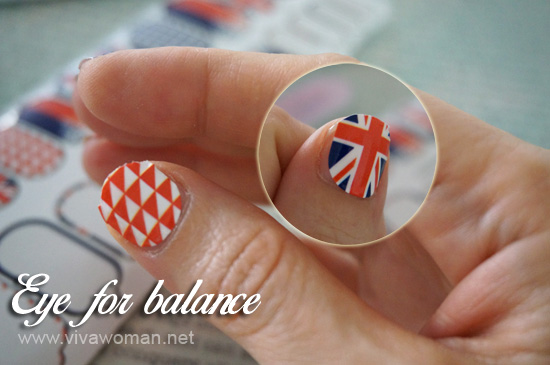
But what I don’t like about these nail wraps is that they’re shaped to be long and narrow and that isn’t good for my nails, which are kinda fatter in width. So in the end, I always see some sides of my nails uncovered and it’s almost impossible to achieve the polished look. Like for my big thumb, even the closest size cannot cover the entire nail area. I also have to be extra careful to center the wrap on my nail or I’ll end up with unbalanced looking nail art. Like I’d mentioned, practice and patience will make perfect.
Price and promotion
The NCLA nail wraps are definitely more expensive than your typical nail polish. Each pack cost S$23 at natureLOVA and you can get one sheet of 26 stickers in eight different sizes, enough for about three manicures. With over 65 snazzy designs to choose from, I think they’re great for those who love to jazz up their nails for special occasions but unless you have a very deep pocket, these aren’t economical for daily use.
Anyway, if you like to give them a try, you can get 20% OFF when you use NCLA20 upon checkout at natureLOVA.com. Offer is valid till 30 June 2014 and this promo applies to all NCLA products includng nail lacquers and nail wraps. You may like to know that natureLOVA ships for free within Singapore and they also offer international shipping.
And oh, removal of these nail wraps is easy too. Just peel off the wrap and then clean your nails with a nail polish remover. Easy peasy. How do I know? I had to remove one that was poorly positioned on my left thumbnail after a day.
Comments
Leave a Reply
You must be logged in to post a comment.





Lovely manicure. Eager to try these nail wraps ?